Showing posts with label sewing. Show all posts

Monday, November 1, 2010

Happy Halloween!

After weeks of toiling we finally finished our family Halloween costumes just in time to go to an awesome Halloween party Friday night. It's very weird to think that last year my little guy was a part of my costume (in my belly) and that I looked like this:

I was the Earth and the Moon. I had the night view of the Earth on my back.
My husband made my moon out of a big block of Styrofoam. (This was exactly one week before I went into labor.)

This year my little guy got his own awesome costume.

My little baby dragon in action.


I dressed as a knight.


My husband dressed as the castle I was defending from our baby dragon.


The drawbridge really worked.
Damage from the dragon.
I have always enjoyed dressing up for Halloween but it's even more fun now that we have a baby in our lives. I love that I can continue my family tradition of making homemade and unique costumes with my son. I never thought to ask my husband how he felt about making costumes before we got married, since it's not like it would be a deal breaker if he had said no. But, I am super glad that he likes the challenge of making a fabulous homemade costume too and that he has so many wonderful ideas.


Monday, August 23, 2010

DIY Oilcloth Smock/Bib


I'm pretty sure all babies are messy eaters. I haven't conducted a scientific survey or anything, but I've observed a few babies in my time. My little guy needed a better bib; preferably one that covered as much of his clothing as possible. You wouldn't believe (unless you have your own ravenous self-feeder) how much food we find in his lap after a meal. I decided to make a smock-style bib that covers his entire torso, front and back.


I found this awesome oilcloth on clearance at my local Jo-Ann's Fabric superstore. I bought 1/3 yd. so I had a strip 12" wide. I cut it half and then folded one half in half to create the smock/bib. I used an existing bib as a template for my neck hole. I traced the shape on the wrong side of my fabric before cutting it out.


The hole is too small to fit over a baby's head but you want a snug neck opening so bunches of crumbs don't end up running down your messy baby's chin and onto his shirt. After I cut the neck opening I cut one of the shoulders apart along the fold. I attached heavy-duty snaps on the shoulder because my monster boy can pull apart the Velcro on his other bibs.


I added a pocket on the bottom of the front to catch some of the crumby overflow. The great thing about using oilcloth is that you don't have to hem anything. Just cut and sew.


My little guy likes to lift up his bibs now so I needed a way to keep the sides together. I used ribbon ties on this bib, but he pulled so hard that he ripped the ribbons off. This time I sewed black buttons on the back side about half-way down each side using heavy-duty thread. On the front, I sewed on loops of round elastic cord.

Here's the back view.

My little model. He looks like he's wearing a really mod little shirt.
We tried it out at lunch today. Our new bib worked great. My little guy couldn't pull it off and after lunch the pocket was full of bits that would have been all over his pants. And best of all, when I took the bib off his shirt was clean. Well, mostly. He managed to dribble some tomato seeds down his neck folds onto his shirt so I think I'll line the neckline with some terrycloth to catch the random baby moisture.

Wednesday, August 18, 2010

Fabulous Fabric Necklace


I ran across this fabric Anthro knockoff necklace over at Flamingo Toes. I knew right away that I wanted to make one for myself. This project was super easy, fast, and cheap. Three words that a busy mommy loves to hear. The original at Anthropologie is $38! Mine cost me approximately $2 and an hour of my time. Doesn't that seem a lot more reasonable?


I bought this fat quarter of fabric on sale for $0.99. I really liked the graphic print with the hint of light gray in the little dots. I have been looking at it for months trying to decide what I wanted to do with it. I decided this necklace might be just the right project for it. I have stopped wearing necklaces since my little guy has taken a liking to yanking on them; I'm afraid I'll be choked or he'll break one. My husband told me that he would be really upset if our little guy choked me to death, breaking my necklace in the process, and then choked himself on the loose beads. Anyway, I figured a fabric necklace is probably beyond his (current) ability to break.

This is how it looked after I added the beads and knotted them into my fabric casing.

I like how the bold pattern became a little softer once it was knotted.

I just used some cheap wooden beads that I bought to use for another project inside my fabric casing. You can get the full tutorial here.

I used my printed fabric, some solid gray cotton, and some silvery-gray tulle to make my little flower. 


The original, and the necklace made at Flamingo Toes had more flowers, but I like it with just the one.


I love finding quick little projects around the web in mommy blogland that I can make and enjoy myself. I really like this new necklace and if you make one for yourself you'll love it too.

Saturday, August 14, 2010

DIY easy headband makeover


I'm sure you've seen all the headband tutorials and posts out there in blogland lately. They are becoming super popular. I think there are so many tutorials in part because if you're the least bit crafty it can be difficult to rationalize spending money on something you could easily make yourself. I decided to make myself a few cute headbands to see how I could incorporate all the ideas I've seen lately.


I started with a cheap set of Goody gals pastel headbands (they were around $3 for 5 headbands) I got at Target. Each headband is 1/2" wide.


I wasn't crazy about the pastel colors so I used some navy double-fold bias tape that I had leftover from another project to cover the headband I was working on. I partially unfolded the tape before I began gluing it to the headband with Fabri-tac fabric glue. The widest part of the bias tape was exactly 1/2". I glued that to the top of the headband and then folded over the short unfolded side and glued it to the bottom.


By leaving the other side folded I had a nice finished edge to glue down that covered up everything perfectly.


Since I liked the versatility of the navy so much I decided to make my embellishment interchangeable. I added some heat and bond Velcro to both the headband and my ruffle. You're supposed to iron the Velcro from the back but I couldn't iron through the thickness of the headband. Instead, I covered the Velcro with a dish towel and ironed through that right onto the loop part. It worked out just fine. I ironed the Velcro on the ruffle from the other side like I was supposed to.


I used a scrap of fabric that I had left after taking in a shirt that is now too big (yay!). I cut a rectangle and then pinked each of the long sides so that I could leave them raw. I basted along each of my pinked edges and gathered the threads at the same time to make my little ruffle. I like that it has some nice texture and dimension without being a big puff on top of my head. Once I was happy with the size of the ruffle I sewed along my basting stitches and pulled them out. To finish the ruffle I folded each end under and glued it in place and then added the Velcro mentioned above.  The longest part of this project was waiting for the glue to dry.

Tip: I have a bunch of tiny clothespins that I got at a party supply store in the baby shower aisle. They are fabulous for holding all sorts of small things together with just a little pressure while glue dries. I used them to hold down my bias tape while it dried and my husband uses them when he's doing paper crafts.

It's really quite difficult to take a decent picture of the top of your own head.
Overall, I'm very happy with how this little project turned out. I like the idea of using a headband as more of an accessory rather than a utility object, like a rubber band for a ponytail. Now I just have to think of four more ways to dress up those others I have lying around.
Sunday, July 25, 2010

Crinkle tag blankie


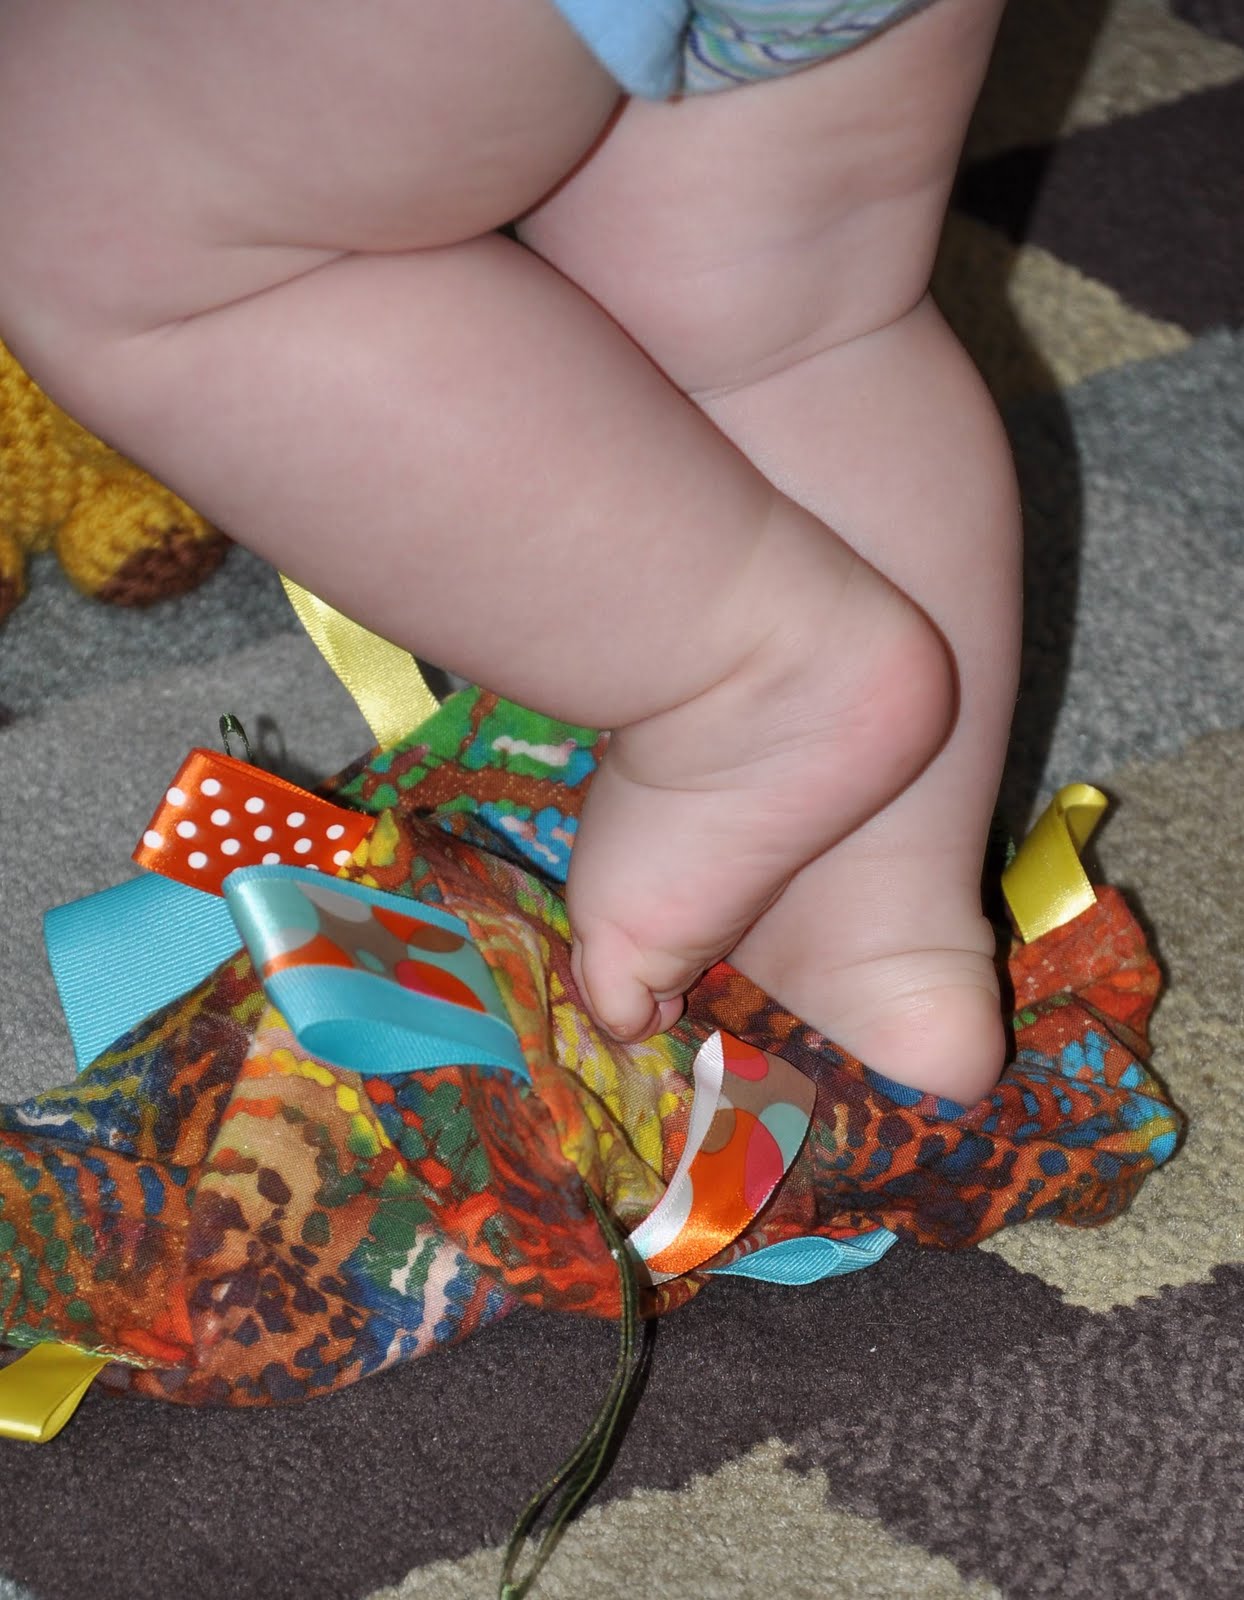
Tag blankies are the easiest thing to make. Really. They're also pretty cheap. I wanted mine to be colorful to attract my little guy's attention so I used this colorful cotton batik. I only needed a little so I bought two fat quarters of it for $0.99 each. I also picked up a couple spools of ribbon so I'd have enough for other projects (like this).


To make it even more fun I added a double layer of metallic tissue paper inside for some crinkle. I use this stuff in all sorts of different projects (like this, and this); my little guy can't get enough crinkles.


Now that he's almost nine months old my little guy likes to stomp on his blankie and wiggle his feet around on it to make it crinkle.


If you're looking for a cheap, fast baby toy for your own little one or to use as a gift I'll hope you'll whip one of these out.

Thursday, July 22, 2010

Fabric scrap octo-ball


Ok, so I don't really know what to call this rattle toy. I figured octo-ball would work as well as anything. I made it using the scraps from my baby crinkle grab ball. After I cut out all the ball pieces from my fat quarters I ended up with diamond shaped scraps. I wish I would have taken pictures of them, but I didn't know I would be blogging about my little toy then.


I sewed my four pieces together and stuffed it as much as I could. I stuck a rattle noisemaker in the middle. I don't know about other babies, but my little guy loves rattles.


After stuffing it as much as I could I just whip-stitched the little opening I had left closed.


This is a nice change from a regular ball. It's still nice and soft for baby to play with and easy to grab at the corners. How have you used your fabric scraps in interesting ways?

Wednesday, July 21, 2010

Simple cardigan makeover


I love cardigans. I can't get enough of them. My mommy staples seem to consist of tank tops (easy to lift up for nursing) and cardigans to cover up my arms (or the remnants of the baby belly that I'm still trying to lose). Now that it's getting pretty hot I needed a lighter sweater to pair with some of my tanks. This was a simple afternoon project. Making the ruffles took the most time but I was able to work on them while my little guy was practicing getting into trouble with his new-found crawling skills.


I started with this super-plain, super-thin cardigan from Old Navy. I think I paid $16 on sale. I liked how lightweight it was but it was too long (it came to the bottom of the front pockets of my jeans), I wanted shorter sleeves, and the deep-v with all those buttons wasn't very stylin'. I had to take action.


First, I shortened the sweater considerably. I knocked off the bottom few inches, including the bottom two buttons. I decided to use some fun blue thread to add just a touch of color. I like the double seam for something a little different.


Instead of pushing up the sleeves all the time, I made them elbow-length and added the same details as on the bottom hem.


Then came the ruffle. I've seen ruffles everywhere recently. I keep thinking about making a ruffle shirt like all the cute ones I see on Tea Rose Home.

Originally I was going to stack two ruffles, a wide one and this skinny one, but it was too much on this light sweater. The good news is that now I have an extra ruffle lying around ready to be used. This one is about 1.5" wide. I took off all the buttons except the top one and sewed the ruffle up the button placket. I used the blue up the middle to bring together all the stitching details. I left the edges raw so they would fray a little; I didn't want the sweater to be too stuffy or prissy for casual wear.


I'm super happy with how it turned out and I'm excited to share it on the Tea Rose Home link party. This was a quick and easy way to makeover a boring cardigan. What do you have in your closet that you want to transform?

Monday, July 19, 2010

Fast fix for a too-long top


I recently bought this cute, lightweight tank for super cheap at Wal-Mart but it's too long on me. I seem to have this problem a lot. At first I thought it was just my slightly shorter-than-average torso. But, that coupled with the popularity of extra long shirts is just too much for me. I hate having to hem or shorten clothes. Especially lightweight, swingy tops like this. Unless you have the patience (which I do not; "Patience is a virtue," is my husband's motto, not mine) to be very careful it's too easy to end up with an uneven hem. Enter some elastic and a few pins.


I wrapped some 1/4" elastic I had leftover from another project around my waist and then cut it about an inch shorter. I overlapped it slightly and sewed it together with a zigzag stitch. Next, I used the existing hem as a guide to make the elastic casing. I just ironed the hem up and pinned it in place.


I sewed my new hem closed, pulling the elastic tight as I went. Now the bottom's all gathered up.


If I want to wear the top longer the elastic helps hold it closer to the body. Having recently had a baby I'm not really into flowy tops anymore; they just feel like my maternity tops.


When I want to wear the shirt shorter, I just put the elastic around my hips, or wherever I want the shirt to fall, and then I get this fun bubble effect. Everything took about ten minutes to complete. Getting my husband to take some pictures took longer than the sewing.