Showing posts with label re-fashioning. Show all posts

Wednesday, July 21, 2010

Simple cardigan makeover


I love cardigans. I can't get enough of them. My mommy staples seem to consist of tank tops (easy to lift up for nursing) and cardigans to cover up my arms (or the remnants of the baby belly that I'm still trying to lose). Now that it's getting pretty hot I needed a lighter sweater to pair with some of my tanks. This was a simple afternoon project. Making the ruffles took the most time but I was able to work on them while my little guy was practicing getting into trouble with his new-found crawling skills.


I started with this super-plain, super-thin cardigan from Old Navy. I think I paid $16 on sale. I liked how lightweight it was but it was too long (it came to the bottom of the front pockets of my jeans), I wanted shorter sleeves, and the deep-v with all those buttons wasn't very stylin'. I had to take action.


First, I shortened the sweater considerably. I knocked off the bottom few inches, including the bottom two buttons. I decided to use some fun blue thread to add just a touch of color. I like the double seam for something a little different.


Instead of pushing up the sleeves all the time, I made them elbow-length and added the same details as on the bottom hem.


Then came the ruffle. I've seen ruffles everywhere recently. I keep thinking about making a ruffle shirt like all the cute ones I see on Tea Rose Home.

Originally I was going to stack two ruffles, a wide one and this skinny one, but it was too much on this light sweater. The good news is that now I have an extra ruffle lying around ready to be used. This one is about 1.5" wide. I took off all the buttons except the top one and sewed the ruffle up the button placket. I used the blue up the middle to bring together all the stitching details. I left the edges raw so they would fray a little; I didn't want the sweater to be too stuffy or prissy for casual wear.


I'm super happy with how it turned out and I'm excited to share it on the Tea Rose Home link party. This was a quick and easy way to makeover a boring cardigan. What do you have in your closet that you want to transform?

Sunday, July 18, 2010

Men's shirt to baby jammies


My little guy needed some new summer-weight jammies so I went into the local thrift store after dropping off my donation to see if I could find anything interesting to re-purpose or re-fashion.

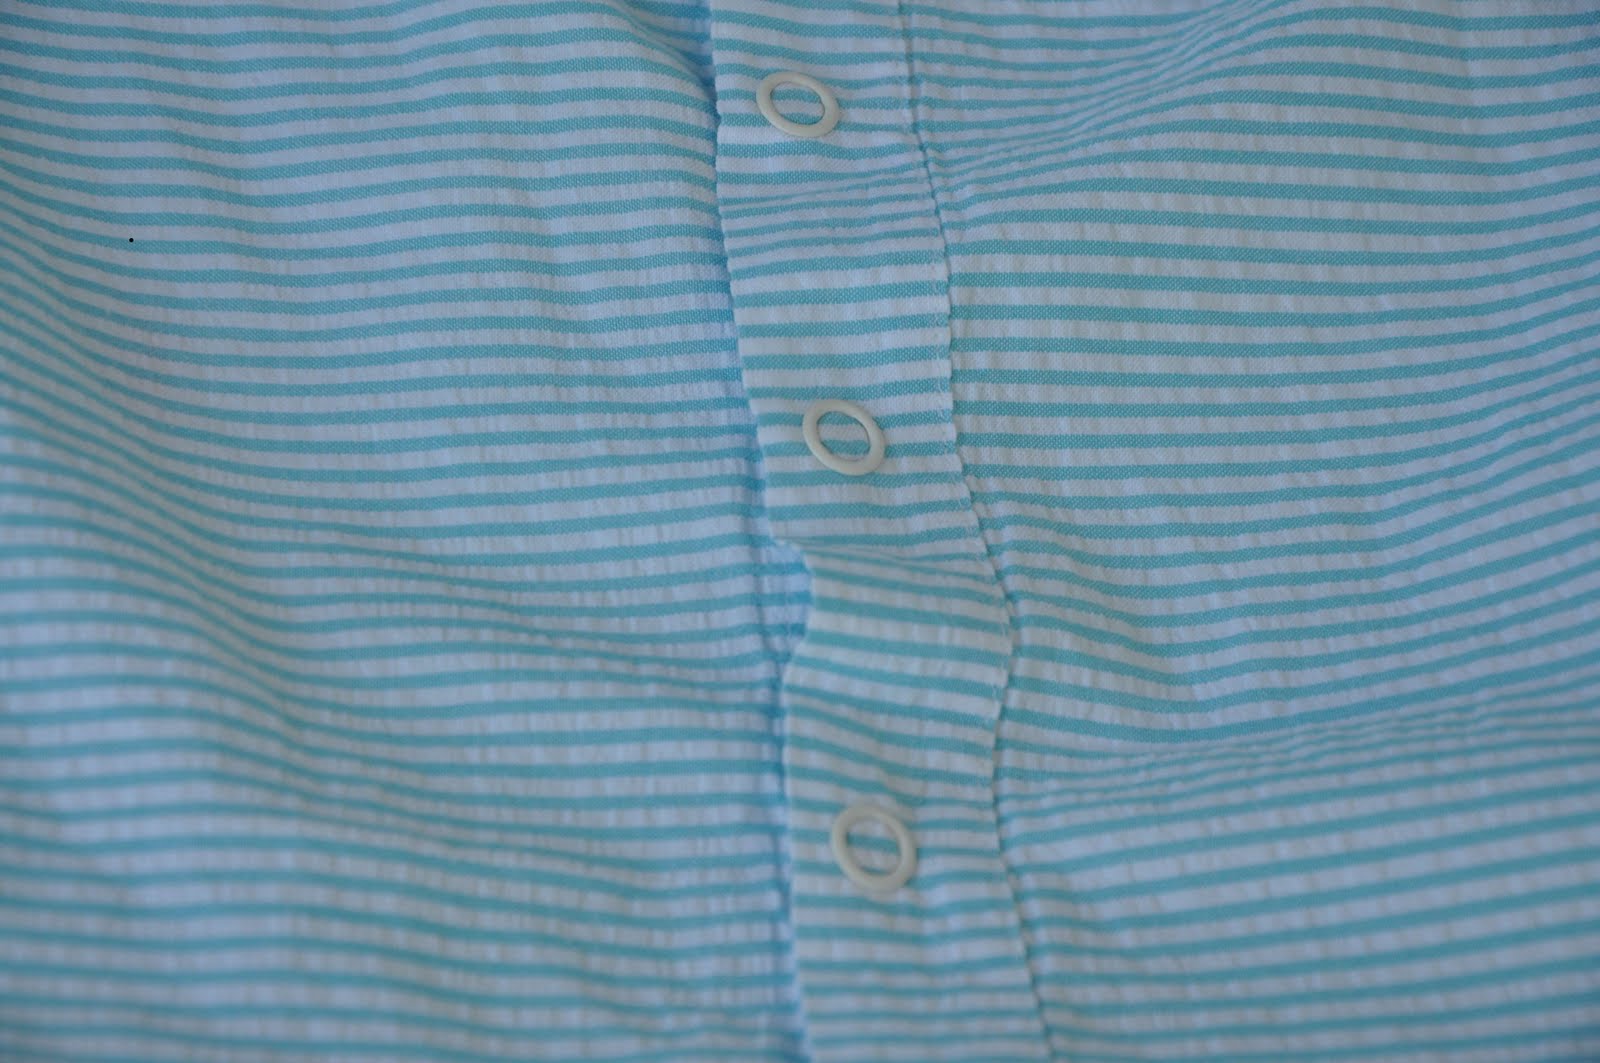
I found this men's size large seersucker shirt. What could be better for summer jammies than seersucker in a cute light blue stripe? And the price? Awesome. To buy the fabric at Jo-Ann's would have run me about $7. It's not a lot of savings, but when you have a baby it's enough. And I got to reuse something that was just lying around.

I will admit, to make a set of size 12 month jammies (for my 8-month-old little guy) it did take some creative cutting to make this work. I felt like I was dissecting the shirt; I cut it apart at all the seams so I would have large flat pieces without the extra bulk of seams to get in the way.


I cut the shirt fronts from the sleeves so I could use the hem of the sleeve for the snap placket; no sewing required for that part.


The neck and the sleeves were finished with single-fold bias tape. I'm really starting to love this stuff. It's so much easier to sew it on than to fold over the edges twice, ironing in between, and then sewing.


Here is evidence of my creative cutting. After cutting out the four pieces for the pants I didn't have another piece large enough to cut the back of the shirt from. I had to cut it out in two pieces and then sew them together. As you can see I ended up with half a back with vertical stripes and half with the horizontal stripes that continue on the front of the shirt. I thought it was fun to use the piece with the Ralph Lauren Polo logo on the back.


It was kind of difficult to catch a picture of my little guy wearing his new jammies. Now that he can crawl he just wanted to go, go, go. Here he is in a still moment. (I have to cuff the pants when he's crawling so his feet don't get caught in them. I need to tighten the elastic some more; I wanted to be sure they would fit for a while so they're quite roomy right now.)


My husband thinks the horizontal stripes on the top make him look like a little jailbird. He is guilty of being pretty adorable. All in all, I'm super happy with how these turned out. Having an XL shirt would have made the process easier, but then again, so would having a smaller baby. Either way, these are the perfect summer jammies. I also picked up a linen shirt to transform. Maybe I'll work on that in a few weeks.

Thursday, July 1, 2010

10 minute bib

As soon as your baby starts to eat solid foods you learn that you can never have too many bibs. Never. Now that my little guy can feed himself some little bites the messes have gotten even bigger. Now little chunks of food end up on his clothes, in the highchair, on the floor; you name it, he gets food on it. I really wanted a bib with a pocket to catch at least some of those crumbs but I didn't feel like going out in the heat to buy one. Plus, I had a perfectly usable plastic tablecloth in a drawer that doesn't fit our current dining table so I decided to whip up the bib of my dreams. Well, almost. The bib of my dreams would look a lot like a Hazmat suit covering my little guy from head to toe and would be self-cleaning. But that's another topic.

Here's the plastic tablecloth I started with. I'll be honest, it's not very boyish but my little guy doesn't know the difference and it will be covered in food in no time anyway. And now if we have a snack in a shimmery forest he'll be camouflaged. The great thing about using the plastic tablecloth is that the plastic won't fray so I didn't have to do any hemming or extraneous sewing. And the back was covered in a fuzzy fabric that he likes against his skin.

I started by folding over one edge of the tablecloth and tracing a pattern piece for the front of a t-shirt that I had on hand because I wanted the bib to cover whatever he's wearing entirely. I added about two extra inches of length to the shoulder pieces so they would fit around his neck. You could trace any shirt that fits your baby though if you don't have a pattern piece to use.

I also cut two pieces of fabric the same width as the bib to use for the pocket. Since only one side of the tablecloth was plastic I needed two pieces to make a plastic lined pocket. I squared off one of the pieces so the sides were all straight and sewed the two with right sides together. Only sew three of the sides together so the pocket can be turned right side out. I trimmed up the sewed pocket to eliminate extra fabric.

Here's the inside of my pocket.

Now I was ready to pin my pocket to the bib. I pinned the open side of the pocket to the bottom of the bib so I could sew through all three layers at once.

I wrapped the raw pieces of the straps around my little guy's neck and used a Sharpie to mark where I wanted the Velcro to go. Make sure you line up the Velcro so that the pieces will overlap completely for the strongest closure.


I used this fabric fusion Velcro even though I wasn't going to iron it on since I was using plastic fabric. I like this stuff because it has a sticky back so it stays in place while you sew it on since it's all but impossible to pin on small pieces of Velcro.

I used some ribbon scraps I had to make two ties to hold the bib in place. (I got this idea from my friend Susannah.) My little guy thinks it's funny to lift his bib up and rub the mess onto his face or to try and rip it off completely mid meal.


 There you have it. A crumb-catching pocket, some Velcro, and two ribbon ties. How simple is that? This really would have taken me ten minutes if I hadn't had to start and stop to wrangle my little guy. I had to forgive his fussiness though since he was such an accommodating, and cute, little model in the end.