Showing posts with label for mom. Show all posts

Wednesday, August 18, 2010

Fabulous Fabric Necklace


I ran across this fabric Anthro knockoff necklace over at Flamingo Toes. I knew right away that I wanted to make one for myself. This project was super easy, fast, and cheap. Three words that a busy mommy loves to hear. The original at Anthropologie is $38! Mine cost me approximately $2 and an hour of my time. Doesn't that seem a lot more reasonable?
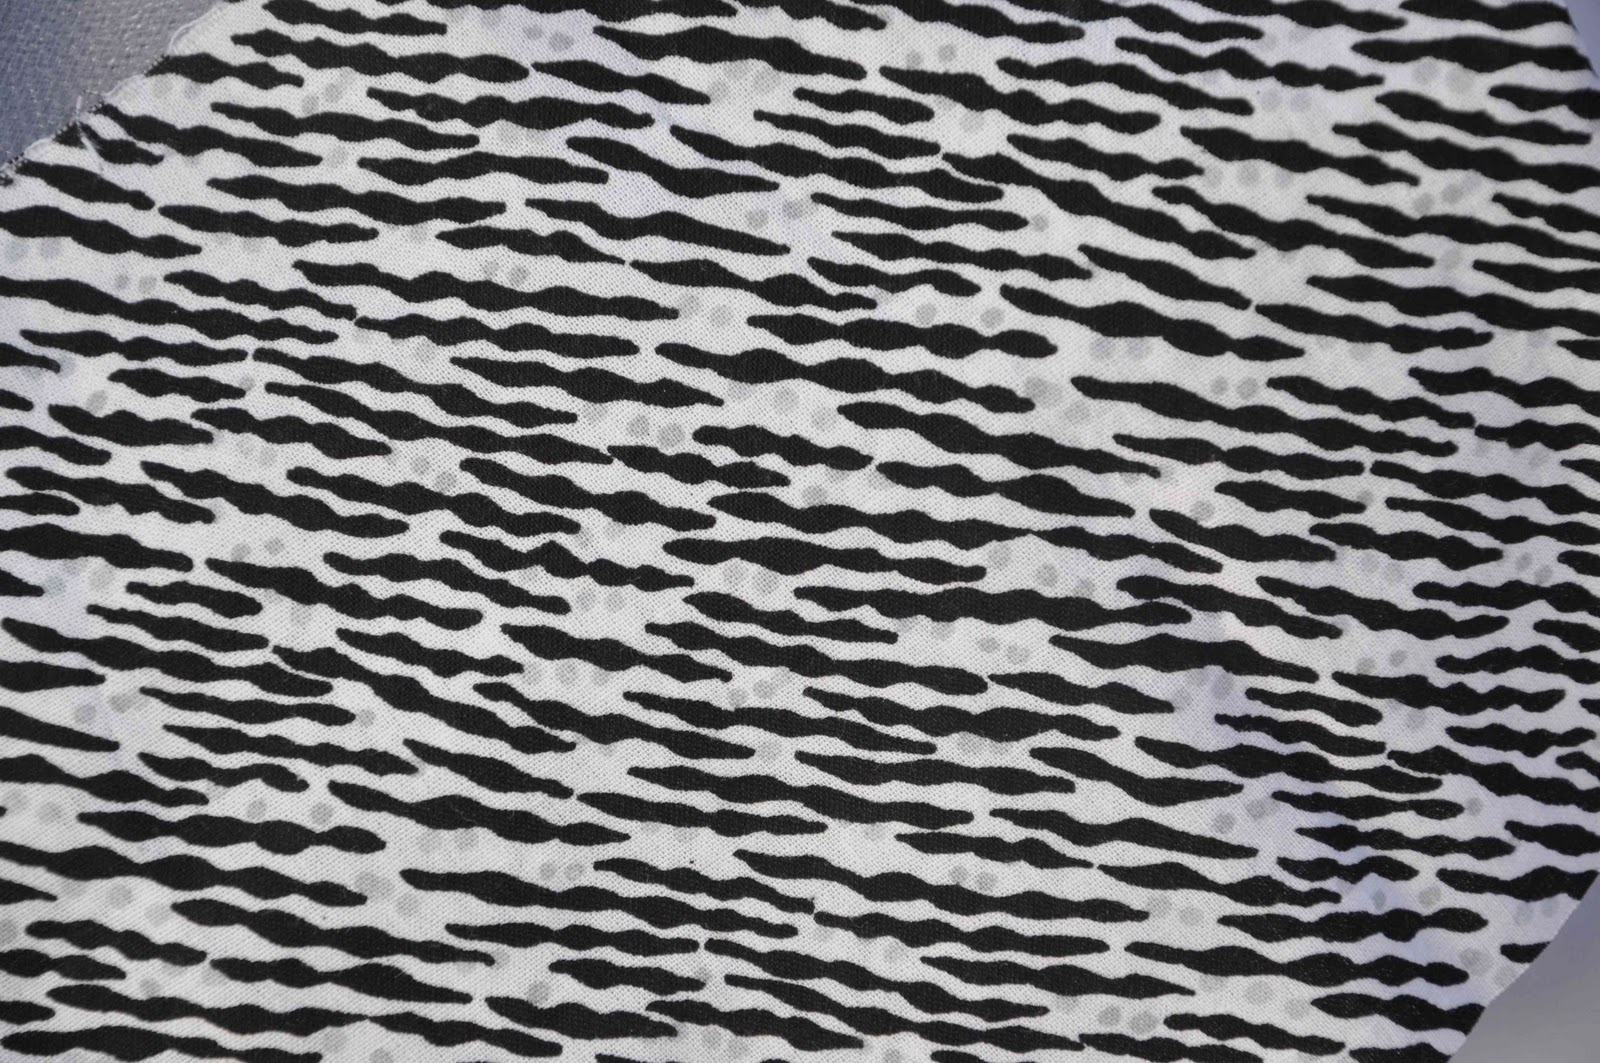

I bought this fat quarter of fabric on sale for $0.99. I really liked the graphic print with the hint of light gray in the little dots. I have been looking at it for months trying to decide what I wanted to do with it. I decided this necklace might be just the right project for it. I have stopped wearing necklaces since my little guy has taken a liking to yanking on them; I'm afraid I'll be choked or he'll break one. My husband told me that he would be really upset if our little guy choked me to death, breaking my necklace in the process, and then choked himself on the loose beads. Anyway, I figured a fabric necklace is probably beyond his (current) ability to break.

This is how it looked after I added the beads and knotted them into my fabric casing.

I like how the bold pattern became a little softer once it was knotted.

I just used some cheap wooden beads that I bought to use for another project inside my fabric casing. You can get the full tutorial here.

I used my printed fabric, some solid gray cotton, and some silvery-gray tulle to make my little flower. 


The original, and the necklace made at Flamingo Toes had more flowers, but I like it with just the one.


I love finding quick little projects around the web in mommy blogland that I can make and enjoy myself. I really like this new necklace and if you make one for yourself you'll love it too.

Saturday, August 14, 2010

DIY easy headband makeover


I'm sure you've seen all the headband tutorials and posts out there in blogland lately. They are becoming super popular. I think there are so many tutorials in part because if you're the least bit crafty it can be difficult to rationalize spending money on something you could easily make yourself. I decided to make myself a few cute headbands to see how I could incorporate all the ideas I've seen lately.


I started with a cheap set of Goody gals pastel headbands (they were around $3 for 5 headbands) I got at Target. Each headband is 1/2" wide.


I wasn't crazy about the pastel colors so I used some navy double-fold bias tape that I had leftover from another project to cover the headband I was working on. I partially unfolded the tape before I began gluing it to the headband with Fabri-tac fabric glue. The widest part of the bias tape was exactly 1/2". I glued that to the top of the headband and then folded over the short unfolded side and glued it to the bottom.


By leaving the other side folded I had a nice finished edge to glue down that covered up everything perfectly.


Since I liked the versatility of the navy so much I decided to make my embellishment interchangeable. I added some heat and bond Velcro to both the headband and my ruffle. You're supposed to iron the Velcro from the back but I couldn't iron through the thickness of the headband. Instead, I covered the Velcro with a dish towel and ironed through that right onto the loop part. It worked out just fine. I ironed the Velcro on the ruffle from the other side like I was supposed to.


I used a scrap of fabric that I had left after taking in a shirt that is now too big (yay!). I cut a rectangle and then pinked each of the long sides so that I could leave them raw. I basted along each of my pinked edges and gathered the threads at the same time to make my little ruffle. I like that it has some nice texture and dimension without being a big puff on top of my head. Once I was happy with the size of the ruffle I sewed along my basting stitches and pulled them out. To finish the ruffle I folded each end under and glued it in place and then added the Velcro mentioned above.  The longest part of this project was waiting for the glue to dry.

Tip: I have a bunch of tiny clothespins that I got at a party supply store in the baby shower aisle. They are fabulous for holding all sorts of small things together with just a little pressure while glue dries. I used them to hold down my bias tape while it dried and my husband uses them when he's doing paper crafts.

It's really quite difficult to take a decent picture of the top of your own head.
Overall, I'm very happy with how this little project turned out. I like the idea of using a headband as more of an accessory rather than a utility object, like a rubber band for a ponytail. Now I just have to think of four more ways to dress up those others I have lying around.

Friday, July 23, 2010

Felt flower headband


Have you noticed how many headband tutorials there are out there in blogland? I've seen them everywhere; too many places to note as inspiration for my own. I don't wear a lot of headbands but I thought I'd make a cute neutral one for when the mood strikes me.


I had several of these rubbery sport headbands lying around. I like the stretchy kind, rather than the plastic type, because they don't poke into the backs of my ears and they don't slip around. Especially these grippy guys. I decided to use one of my thinner ones as the base for my felt flower.


I cut out a few circle templates using my handy dandy Martha Stewart circle cutter and then traced them onto my felt with a Sharpie. Then I cut each circle out with my pinking shears. I layered them and glued them together with some washable fabric glue. My flower looked a little unfinished until I added a little teal bead in the center.


This was a fast and easy little project. I'm quite pleased about having something a little nicer looking to wear when I've had enough of my hair in my face on a hot day.